Guide
Quick Start
TinyOwl runs image batches through workflows. Start by choosing a workflow in the main window, then go to Settings only when you need to change presets, upload targets, or workflow steps.
Run Your First Local Batch
Use the built-in Compress only workflow when you only want local compression.
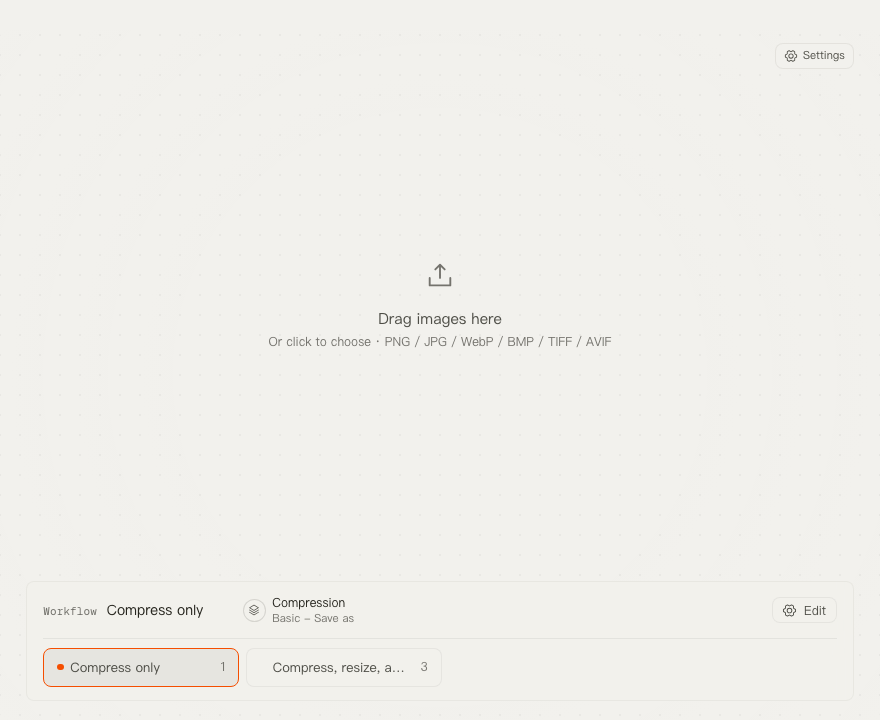
- Open the main TinyOwl window.
- Add images with the file picker or drag them into the file area.
- In the workflow panel, select Compress only.
- Check the step summary. For this workflow, it should show only the compression step.
- Click the run button.
- Review each file in the list: saved path, compressed size, status, and any error message.
Understand the Workflow Summary
The main window shows the selected workflow as a compact sequence of steps:
Resize -> Compression -> UploadOnly Compression is required. Resize appears when the workflow changes image dimensions before compression. Upload appears when the workflow sends compressed files to a configured provider.
Use the main window for daily runs. Use Configure in the workflow panel, or open Settings -> Workflows, when you need to edit the workflow itself.
When to Open Settings
Open Settings when you want to change reusable building blocks:
- Use Compression Presets to control format, compression level, save behavior, and compressed filename behavior.
- Use Resize Presets to create reusable dimension rules.
- Use Upload Providers to add Cloudflare R2, S3, OSS, COS, MinIO, or another S3-compatible destination.
- Use Workflows to combine resize, compression, and upload into one reusable flow.
A Safe First Workflow
For new setups, start conservatively:
- Keep compression in save-as mode.
- Run a small batch first.
- Confirm the output folder and filenames.
- If upload is involved, test the provider connection before running a large batch.
- Only use overwrite presets after checking the output on copies.